Thursday, January 15, 2015

Birthday Wishes!

Time to get back to crossing names off the list of who needs cards this month and next month... so here is the first card for the cross off (not telling who it's for!)...

The stamp is a Magnolia Tilda with Christmas Puppy but she lends herself beautifully to Birthdays too!
 The leaves are cut using a Spellbinders Heart Felt Creations Falling Leaves... which I then hand embossed some details on.  The rectangle and scalloped rectangle are also Spellbinders dies which I used my lovely little Cuttlebug to cut!  The doily, ribbon roses and pearls all came from my stash.  The ribbon border was cut using my Silhouette Cameo - Design #34270.

 The inside is debossed with an "Organic Flourish" folder by Cuttlebug.  I then hand embossed around the edge.  The sentiment is written by my Silhouette Cameo.

I am entering several challenges with this card... I do not expect to win anything but I am having fun... that is the main thing :-D

Midweek Magnolias - New stash! (The white, pink and green cardstock is all new!  The Black kilometric pen is brand new - Yay for back to school sales. The ribbon design is also brand new... I bought it for this project!)

I hope you like it.  Happy Crafting!
*hugs*
Sarah

Saturday, January 10, 2015

Baby Shower!

Operation Baby Shower complete :-D  including carry box and banner... Baby blue and white.
 Hardest park of the whole project - pulling the words off the sticky mat after cutting without tearing them and then gluing them and getting them stuck straight.  I am pretty happy with how they turned out.

 
The box has swiss dots embossing to match the Onesies /Romper Suits.  The bunting has Onesies / Romper suits to match the theme also.

 The inside of the card - blanked for privacy has a blank side for a small print of the ultrasound picture and all the details on the inside of the other complete with bow tie (because bow ties are cool!) and buttons.

The end result :-)  Swiss dots folder and die cuts from the Cameo and lots of time from me.  Hope you like them... 

Happy Crafting *hugs*
Sarah

Monday, January 5, 2015

Baby Blues!

So I have been asked to make Baby Shower invites... a boy is expected so I get to play with baby blue!  These are my mock up designs... I hope the lovely lady that is expecting likes one! :-)

 Cottage Cuts Baby Bottle.  Cuttlebug Baby Embossing Folder. Spellbinders square and scalloped square.  Baby Shower from Silhouette store.

Fiskars Texture Plate "Prints". Feet and Baby Shower from Silhouette Store. Spellbinders circle and scalloped circle.


Fiskars Texture Plate "Prints". Baby bib and Baby Shower from Silhouette Store. Spellbinders square and scalloped square. 


Shape card from Silhouette store as well as BabyShower and Feet.  Embossed with Swiss Dots by Cuttlebug.

 All elements from Silhouette store.

Happy Crafting *hugs*
Sarah

Sunday, December 28, 2014

Merry Christmas 2014!

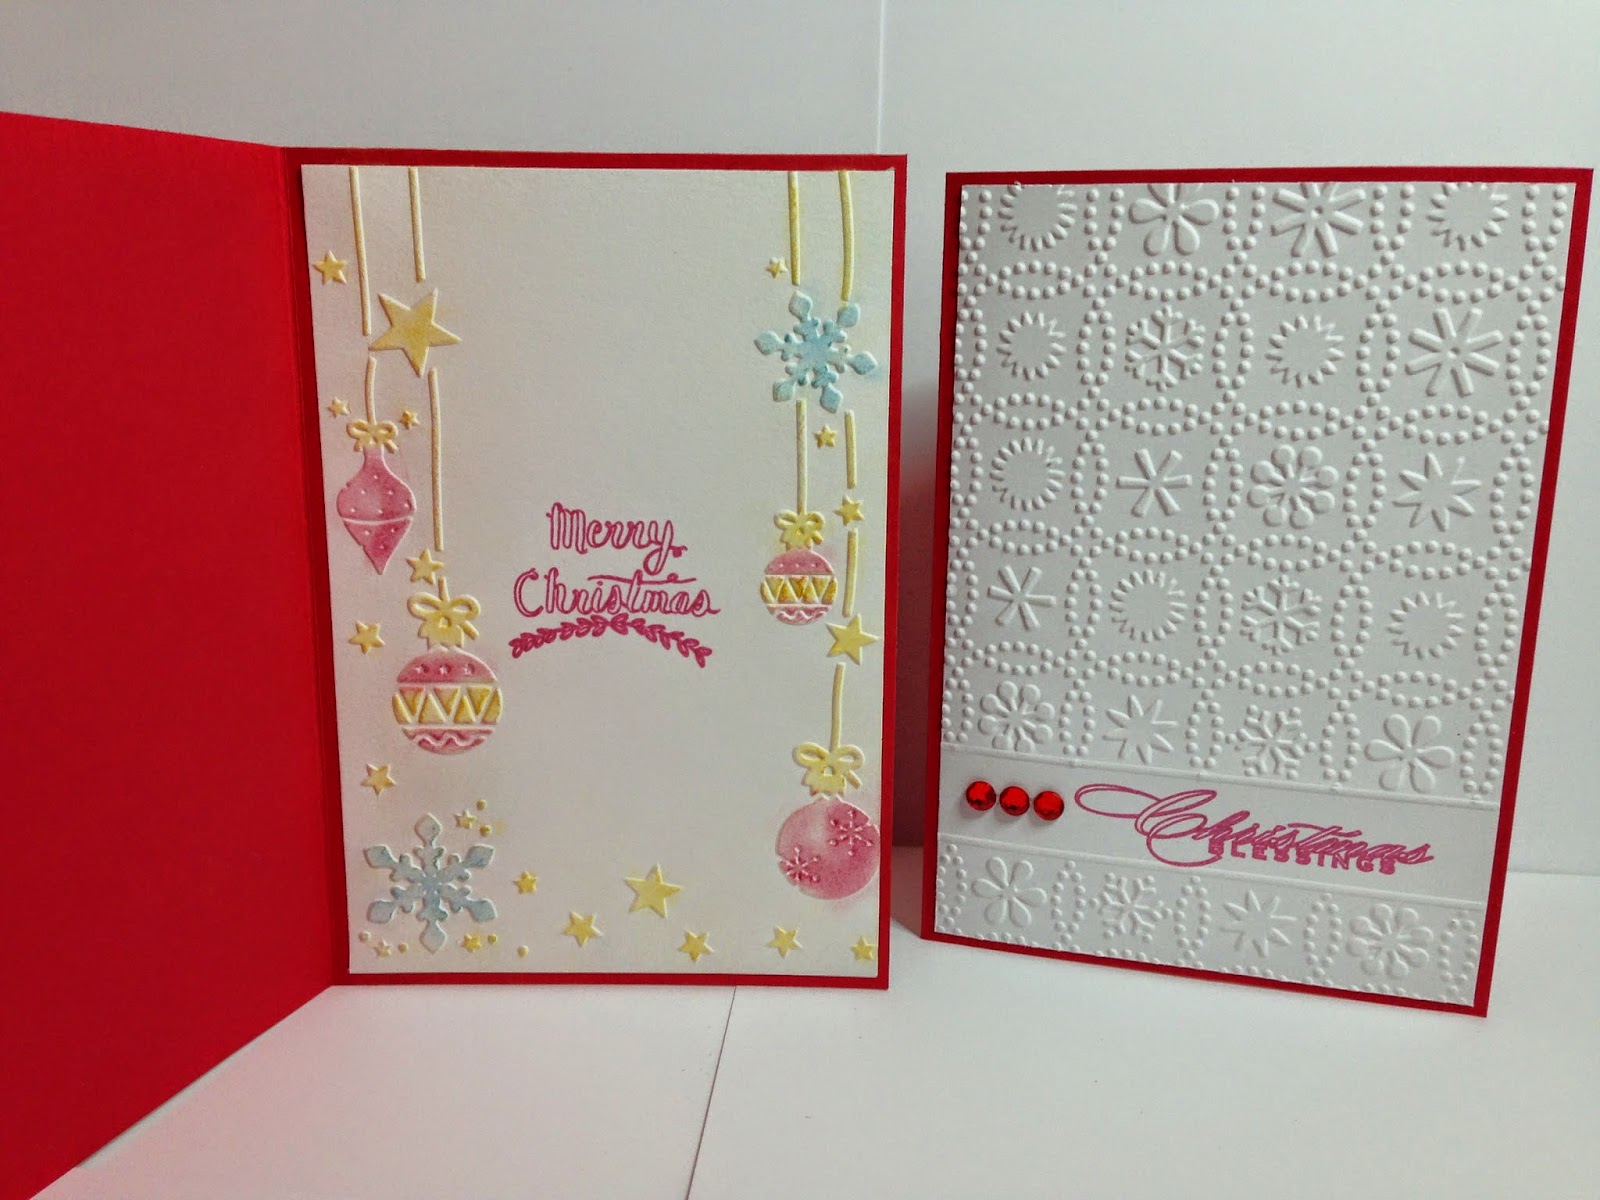
This year I needed a fair few Christmas Cards in a short space of time so I broke out the Cuttlebug and the Silhouette Cameo and got busy!  Ironically the inside took longer than the outside!!!
The outside uses either the Cuttlebug Snow Dots or Snowflakes.  The inside was either Darice ornament/ star/ snowflake and then chalked.  The sentiments were written by my Silhouette Cameo as it was quicker than stamping with the short time I had available.  The files for both are found on the Silhouette Studio shop.

I thought I would do a quick how to:  Click on the pictures to enlarge:
 Ok put the cardstock in the folder with the edge of the folder stopping above the text / stamp / gap you want.
Put it in the Cuttlebug with A plate, B plate, embossing folder with card in, *then* B plate BUT make sure the edge of the plate is just above the edge of the folder (otherwise you will get a folder edge mark).
Wind it through.

Repeat on the other side of the card (check you have your folder the correct way around.  This one is using the Snowflakes folder which is nice and easy to work with as there are no lines or patterns that need lining up.
 

That leaves you with a front panel like this.  Which although it looks nice it for me needs lines above and below the sentiment.  As you can see with the snowdots more care must be taken to line up the dots due to the pattern.
 I make sure the sentiment will fit above and below the score line.

 Turn the cardstock panel over and score.

And that is that!  Front panel created.  It looks stylish and clean.
 Now so as not to ruin my hard work... I put tape on the edges of the panel but I only remove the backing from ONE side (top in this case) then position the panel onto the card blank (prepared earlier.) being sure to only push onto the sides that do not have their tape revealed until happy with the position, then push the taped side into position.  Now with the top affixed peel the other tape covers off and stick.

 Add Bling!!
The insides can be left white or chalked.  One of the kids got involved in this a few smudges but pretty great I thought.


Happy Crafting *hugs*
Sarah

Granddad - the best painter and decorator ever!

My Granddad in his career was a painter and decorator.  One of the best ever :-D  so for his Birthday I thought I would celebrate that part of his life.  Since male cards are so very difficult at times!

I found this on Pinterest:
http://www.pinterest.com/pin/267753140322226837/

I made it a different but it made my Granddad and Nanna happy so it must have been a hit :-)

I used various files from the Silhouette store.  the white paste paint brush was terrible so I used a black pen to make the brush lines then put White Souffle pen on top... much better.

Hope you like it!

Happy Crafting *hugs*

Sarah

My Techy Brother!

 My Big Brother had a birthday and since he is totally tech savvy so a iPhone it was!  Couldn't find a file I liked so made one :-D  Found some tech cardstock in my stash and got into it.  I think he liked it.


Happy Crafting *hugs* Sarah

Teen Birthday!

So June came around and I needed a Teen card for my to be Teen... he was getting a guitar so I grabbed a few files and got busy on my Silhouette...

The Box card file is from Lori Whitlock: Design ID #56513 from the Silhouette Store.
I made it pop with e-mail and icon type paper.  Paper Pieced and  then found guitars and paper pieced them and added them to the sides.  The guitar is called "electric guitar" and is by prettypapergraphics: Design ID #60863 


I made some vinyl art for his wall also from the same guitar file and musical notes from here and there to be spread across the wall if he should so wish (13 is a funny age lol):

*hugs* Happy Crafting,
Sarah

Friday, April 4, 2014

Wash behind your ears!

Had fun the last few days doing something special for my boys for our trip.  Maybe this will stop the "Who left the lid off the toothpaste?" and "Who squished the soap?"... or maybe not *chuckle*.  I even got busy and made my Great Nephew one as he is going on a camp :-)  Boring and mundane no more.  The font is Comic Sans because that is what the boys like and the smile is from the Silhouette Store "jack o lantern photo props".  Bubbles made by me.


Oh and made this for a lovely lady that asked me too... looking forward to seeing what she does with it :-)
 Happy Crafting *hugs* Sarah